- Challenge Theme: Monthly Stitch - June 2014
- Pattern used: Sewaholic Cambie
- Fabric: Black and Orion Bar fabric ordered from Spoonflower + salmon colored bemberg lining
- Notions: zipper
- Did you make any pattern alterations or design changes? I used a size 8 but the shoulders and darts from size 6. Also I took out ~10 cm of the length. And straightened the neckline with Tasia's instructions.
- Total price: ~106 € (Spoonflower fabric is fairly expensive, especially with postage to Europe...)
- Time to complete: ~22h
---------------------------------------------------------------------------------------------------------------
 Well, I'm a bit late, since it's July, but I actually finished this in June (30th, to be exact!), but I didn't have time to take photos or blog it as I had a presentation on July 1st. And I actually was finishing the dress for the presentation. The Cambie has been on my list of to-sew for a long time now. There are really awesome ones in the internet and I've been very inspired by many (few examples: Les Mademoiselles: love the piping! Scruffy Badger: the edges on the blue one, so cute! Young Seamstress: just plain lovely, Sewing in the Rain: so classy and I just love the color...)
Actually it was the blogpost of Sewing in the Rain, that gave me good advice when choosing the size. She said that she should have chosen the size according to her full bust instead of the actual bust. I did that now, I actually would be pretty much size 8 (except way shorter) according to the sizing chart. But my problem is that I have super narrow shoulders (as in my upper body is kind of small, and then there are the boobs, if that makes sense...). So I chose size 6 for the neckline and shoulders and this was the best choice ever! The shoulders fit perfectly and then I just draw to the waist for size 8. I didn't do an FBA (I actually have never done this and I was glad I didn't have to learn it now, as my schedule was kind of tight), I just added a bit to the side seams, but I didn't need much to fit. But there are some problems with the fit. Actually I think I should've done the FBA: there's some wrinkling under the bust, but the front doesn't look too bad. The back, however, is too big as you can see from the back and side photos. So I think the added length did a lot for the bust, but as I added it to the back as well... not so good. So, fitting will require some work next time. Because there will be a next time for this dress :) Maybe with a fuller skirt... Or maybe I'll make this same one, but better.
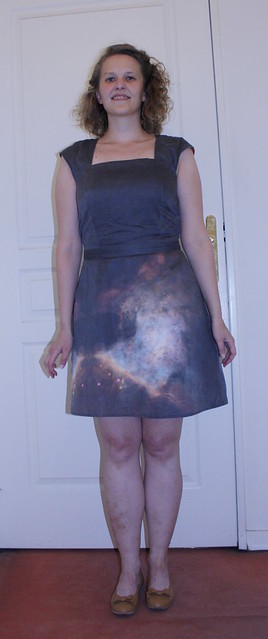
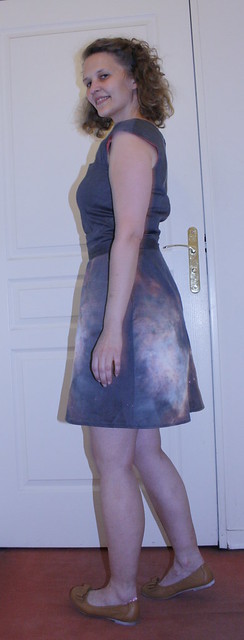
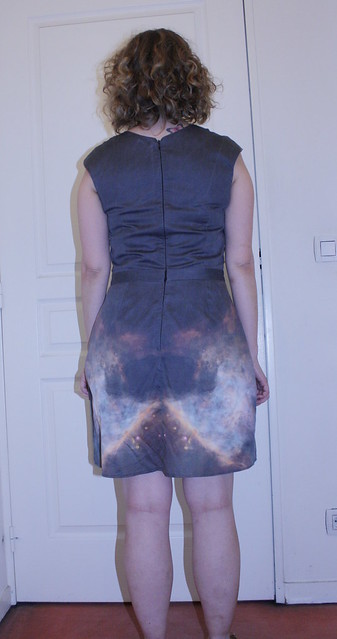
I had a bit of trouble attaching the lining. There is a pretty good tutorial on the Sewaholic blog, but still had some problems... I wasn't sure when to sew the lining under the zipper, so in the end I did it before attaching the lining. Now then, I was reading the comments on the post and someone was asking about trimming the seam allowance from the center back of the lining and it was advised to trim it off completely. I didn't trim it off completely, but I still run into problems, and actually with the method Tasia is using, you really don't need to trim the seam allowance at all for the lining before attaching it.
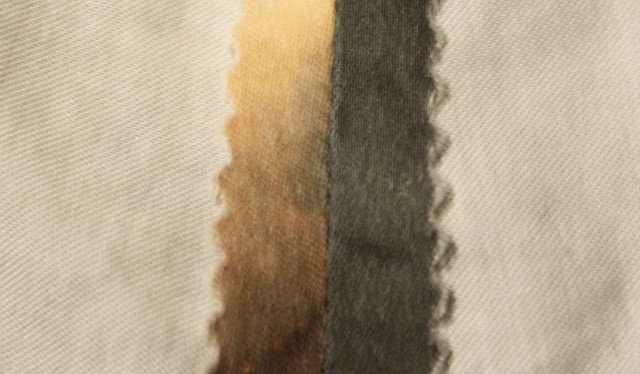 |
| Finished seams :) |
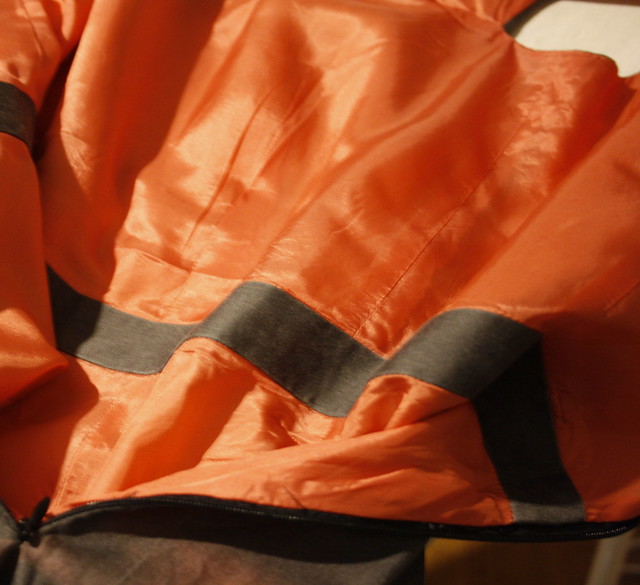 All in all I think the result was successful. I love the salmon colored lining (not looking like the right color, I'm still photography-challenged), and the dress was a big hit at our Journée des Thésards (PhD student day), where we were supposed to dress up as our research subjects... Yes, the picture in the fabric is of the Hubble image of the Orion Bar (photo credit: NASA, C.R. O'Dell and S.K.Wong (Rice University)), which is what I study at the moment :)

I think the dress look lovely! Original fabric choice :) I remember my first go with the pinking shears. It was my first blouse, and I managed to cut a hole on the back! I still love my shears though :)
ReplyDeleteWhat an unusual and wonderful version of the Cambie dress! It looks terrific on you. It could be that what you are seeing in the back is excess length. Check out this good blog post on that very topic: http://sunnygalstudio.blogspot.com/2014/04/a-fitting-post-watch-your-back.html.
ReplyDeleteI managed to cut a hole too... but only a small one and I was able to fix it!
ReplyDeleteThanks :) I'm definitely checking out your post. Although I think my adding length to the bodice was what sort of fixed the need for FBA, and then the back of course is too big... I'll make a new muslin before the next version. And I might just retrace the bodice from the original pattern and do the FBA and see how it goes...
ReplyDeleteC'est la classe à Dallas d'avoir une robe arborant ton sujet de thèse... je peux difficilement faire la même chose mais j'adore !
ReplyDeleteMerci pour les astuces concernant le buste et les épaules !
What an unusual cool dress! I also tried recently pinking shears for the first time.. Glue pen? Never heard about it.. Is it specifically designed for fabric? Good luck with your PhD thesis..
ReplyDeleteMerci! Je juste essaye faire que je veux. Quelque fois ça marche, quelque fois pas, mais je m'améliore tout le temps. Me je vraiment recommande cet patron!
ReplyDelete